RTFM Installation
RTFMv2 is distributed as standard Windows installers and Linux Debian packages. The current installation process is intentionally simple: run the Windows installer on Windows, or install the .deb package with apt on Linux.
Use the package that matches the component you want to install:
- RTFMv2 Client: desktop operator interface
- RTFMv2 Console: command-line interface for automation and headless workflows
- RTFMv2 Server: web application for team sessions, findings, and reporting
- RTFMv2.Embed: touch-friendly embedded interface for field devices
- RTFMv2.DropBox: deployable remote field node runtime
- RTFMv2.DropBox Editor: profile, package, and SSH deployment tool for DropBox nodes
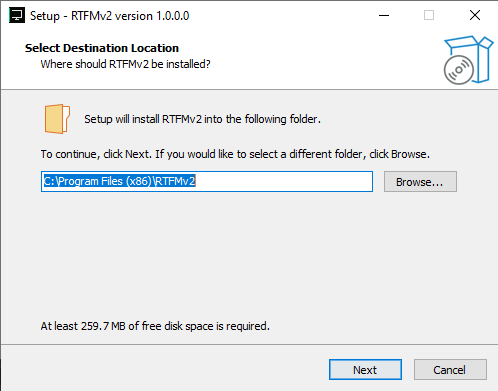
Windows Installation
Client
- Download the current RTFMv2 Client Windows installer.
- Double-click the installer, for example
RTFMv2 Client Installer.exe. - Follow the setup wizard and choose the installation directory and shortcut options.
- Launch RTFMv2 from the Start Menu or desktop shortcut.
Some tools, such as Nmap packet scans, may require Administrator privileges. If a tool fails because of permissions, close the client and relaunch it with Run as administrator.
Server
- Download the current RTFMv2 Server Windows installer.
- Run the installer on the Windows host that will serve the web application.
- Start the server from the installed shortcut or service entry.
- Browse to the configured server URL and complete first-run setup.
On first run, create the initial administrator account, confirm the database settings, and configure TLS or AI settings if required for your environment.
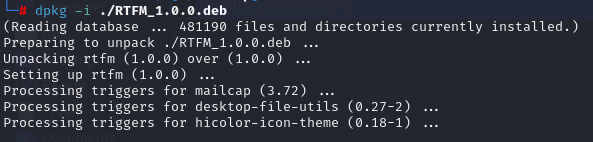
Linux Installation
RTFMv2 Linux packages are installed with apt so dependencies are resolved by the package manager.
Install a New Package
From the directory containing the downloaded package:
sudo apt install ./RTFMv2LinuxCommercial.deb
Use the matching package file for the component you are installing. Common package names include:
sudo apt install ./RTFMv2LinuxCommercial.deb
sudo apt install ./RTFMv2LinuxSingle.deb
sudo apt install ./RTFMv2.CLI-Linux.deb
sudo apt install ./RTFMServerSetup.deb
sudo apt install ./RTFMServerSetupSingle.deb
sudo apt install ./rtfm2-embed_arm64.deb
sudo apt install ./rtfm2-dropbox_arm64.deb
Reinstall or Upgrade an Existing Package
If the package is already installed and you want to force the local package back over the existing installation, use --reinstall:
sudo apt install --reinstall ./RTFMServerSetup.deb
The same pattern applies to client, console, Embed, and DropBox packages.
Field Components
After installing rtfm2-embed_arm64.deb, launch RTFMv2.Embed on the field device and choose a local or server-backed session. After installing rtfm2-dropbox_arm64.deb, use the DropBox Editor to export or directly deploy a package, then provision the node with /opt/rtfm-dropbox/RTFMv2.DropBox --provision --package <dir>.
See RTFMv2.Embed and DropBox for the full field-component workflow.
Launch the Client
After installation, start the desktop client from the application menu or run the installed launcher from a terminal. On Kali or other testing workstations, launch with elevated privileges only when the tool you are using requires it.
Server First Run
After installing the server package, open the configured server URL in a browser and complete setup:
- Create the first administrator account.
- Confirm the SQLite database location or configured connection string.
- Configure HTTPS if the server will be accessed over a network.
- Add AI settings only if you plan to use AI-assisted server features.
Post-Installation Checklist
- Create or open a local client session.
- Confirm required third-party tools are available on the workstation.
- If using the server, confirm the client can connect and sync session data.
- Configure AI provider settings before using AI Chat or the AI agents.
- Run a small scanner or parser workflow before starting a live engagement.